Good Morning everyone! I had a long weekend last week! weee~~ but holiday is never enough. Don't you agree? I want more holidayssss!! lol...
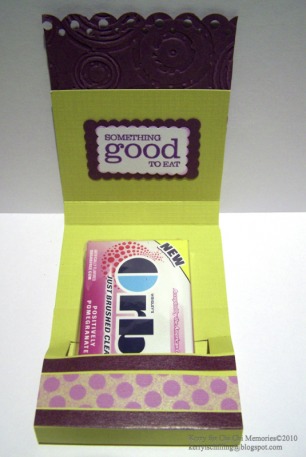
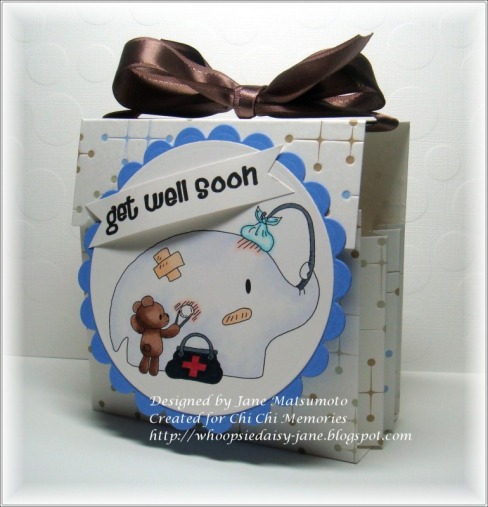
I have to show you a cool project today. Jane has created a cool little box for the "Always by your side" stamp. You can put tiny aid kit inside like bandages and stuff. It's very neat! You can even make it into a gift box, put in some candies and make others smile :)
Jane has created a tutorial for this project. You can follow the photos or even take a look a the video clip to learn how to make one yourself!
>>>Click Here to see the tutorial<<<Designer: Jane
Stamp Used:
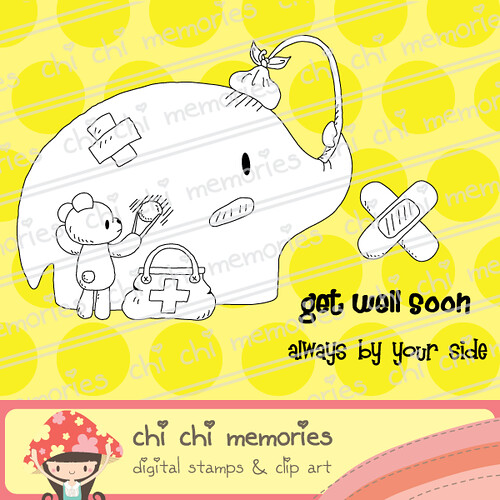
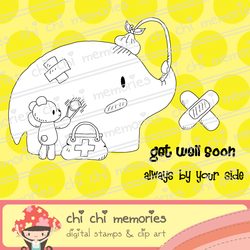
Always by your sideLittle Bear is the sweetest little guy! He's taking care of Freddie!! I'm sure Freddie is feeling warm and touched in his heart. That's what friends are for... always by your side when you are happy or sad... :)
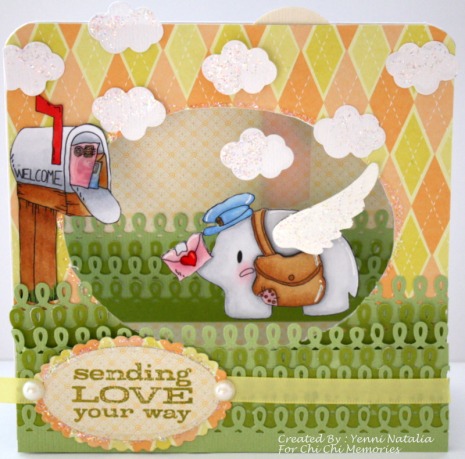
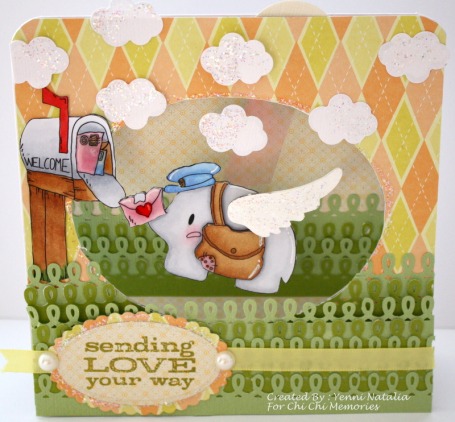
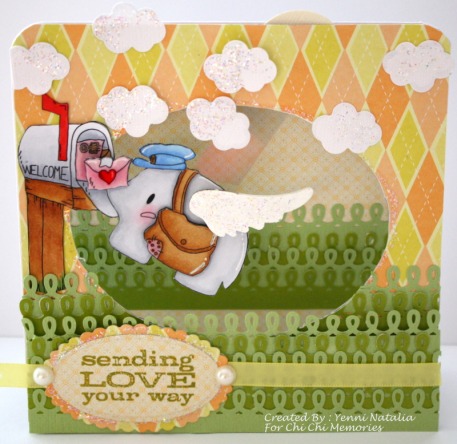
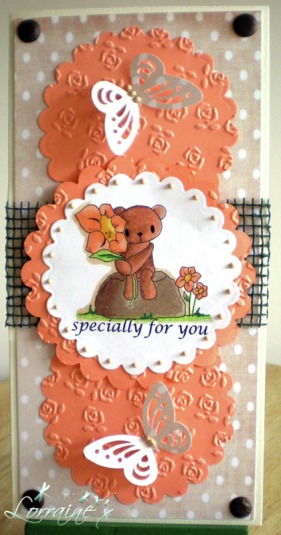
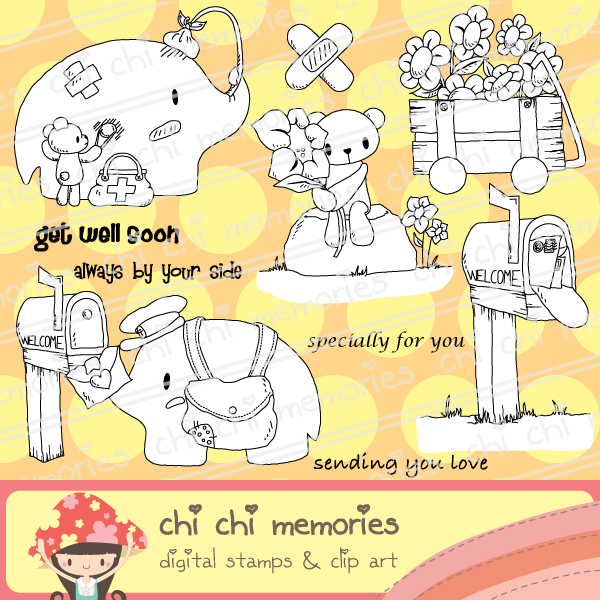
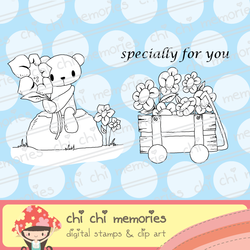
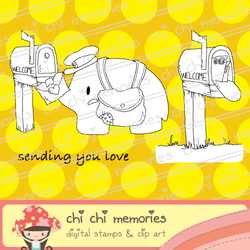
Hello Everyone!! Guess what?!? It's Stamp Release Day again!! I've came up with a sympathy collection this time. I thought I should make some stamps that are more practical sometimes and we haven't seen Freddie for quite a while, so here comes Freddie again!! We also have Little Bear taking care of Freddie when he's sick. He has also picked a big flower specially for YOU! Isn't he cute? Freddie is delivering love to everybody! He's a postman sending love to everyone! These set can be sold separately of can be purchased as a collection!
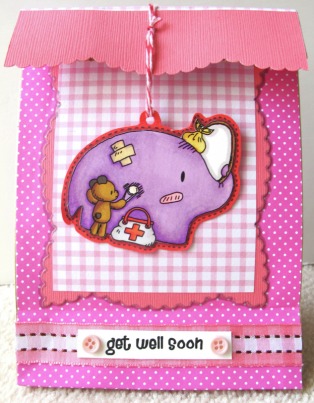
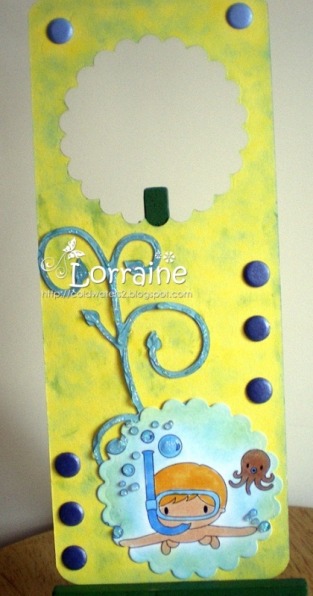
>>>>click here to see the detail of Sympathy Collection<<<<I've made my first project with the "Always By Your Side" Stamp. I'll show you a few photos of what I did in my project. I've made goodie bag with Freddie hanging in the front.
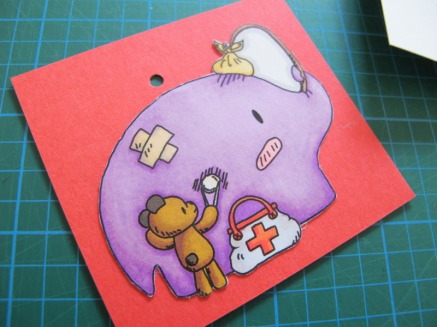
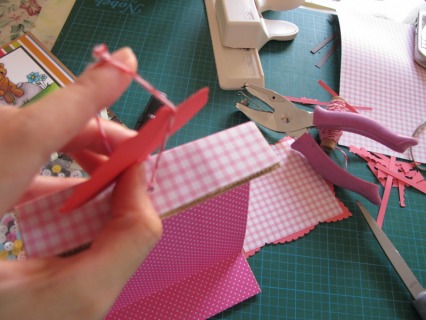
First I'll need to make Freddie into a tag. Punch a tiny hole on top to hang a string.
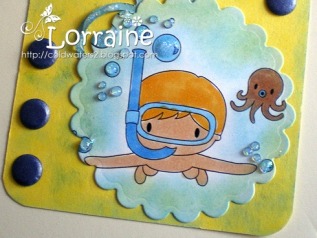
Usually I will trace the outside of the image with light gray color so that the image stands out a bit and look more 3 dimensional. Cut around the image leaving a little bit of red on the card. Remember to include the punched hole.
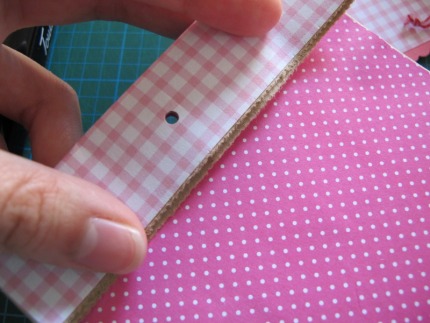
I was too into making this project and I've forgotten to take few more picture in between. This is the paper bag I've covered with polka dot paper on one side and checkered paper on the other side. Fold the top of the bag as shown below and make a hole punch in the middle.
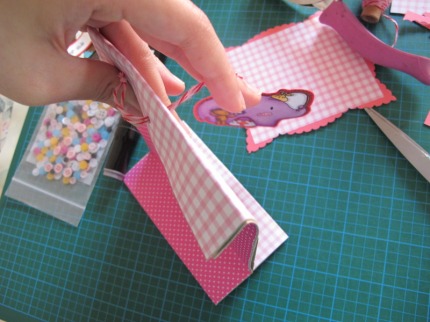
Freddie's hanged onto a string, now slip the string through the paper bag's hole from behind.
Pull the string all the way in and put Freddie through the loop of the string.
And it's done! Freddie is now hanging in the middle of the goodie bag. The opening of the paper bag is now securely folded because the string has tided it together. You can put some candies or handmade goodies into the bag and give it to you friend as a sympathy gift! :)
I hope you are enjoying the new release and the tutorial on this little project! More pretty projects by our design team members are on their way! Take care and have a great day!
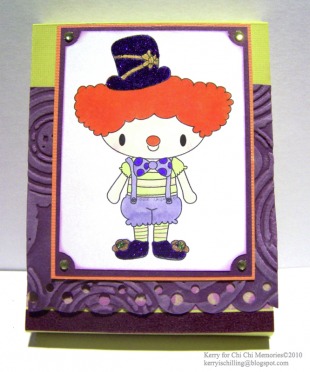
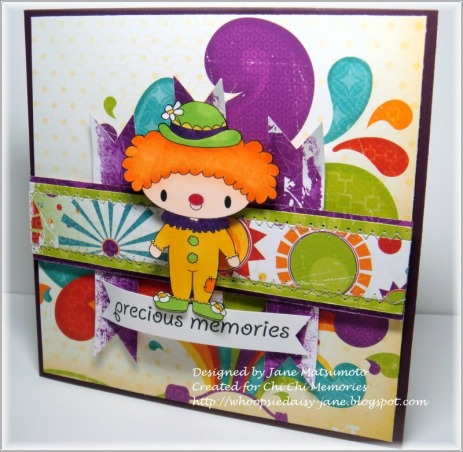
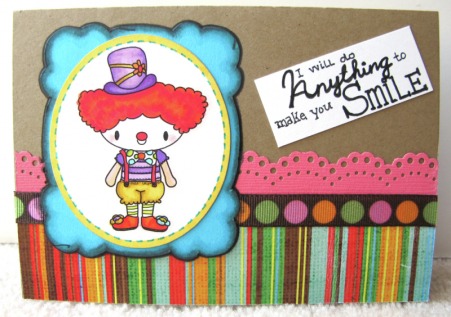
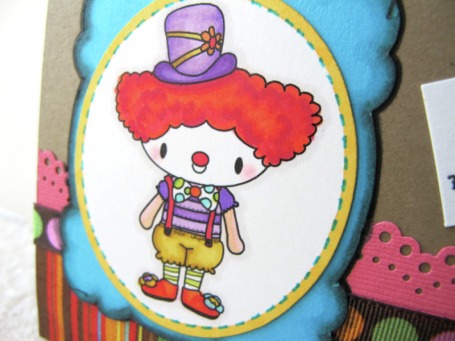
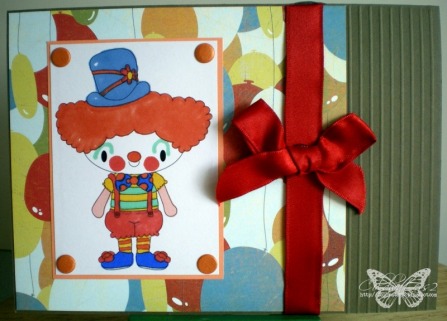
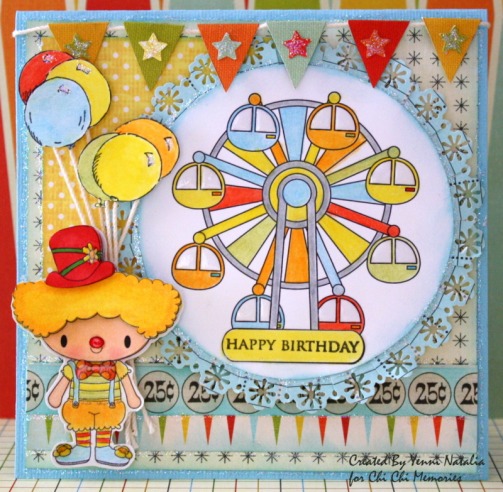
Hello everyone! We're back to the "Happy Carnival" Stamp Set today! Yenni has made an awesome card I can't wait to show it to you!! She has used Clown Candace and Ferris wheel to make this birthday card. I'm loving the color scheme a lot! Such a happy card! I would love to receive a birthday card like this! :)
Designer:
YenniStamp Used:
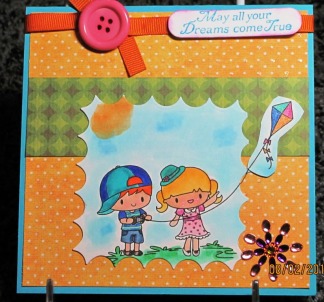
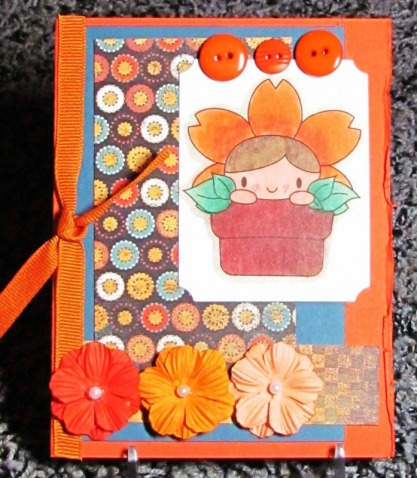
Happy Carnival Stamp SetOur guest designer, Audrey, has made a very sweet card with "My time with Kitty". She has colored the kitty into calico color. I love calico cats too! I've designed the kitty without any pattern so that you can color the cat into any pattern you'd like.
Guest Designer:
AudreyStamp Used:
My Time With KittyI hope you are enjoying these cards as much as I do! Have a great day :)


 RSS Feed